FlyEnv has become my go-to control center for Laravel work because it treats every stack requirement as a first-class workflow. This refreshed guide walks through the exact sequence I use whenever I provision a new machine: install the right services, set PHP and Node versions for the CLI, confirm the Sites dashboard, then publish a brand-new Laravel project.
When you standardize FlyEnv across the team, "it works on my machine" fades away—you all share the same switches, versions, and site definitions.
Step 1 — Install FlyEnv & Core Services
Download the latest build from flyenv.com, sign in, then open the Software catalog to install the runtimes Laravel expects.
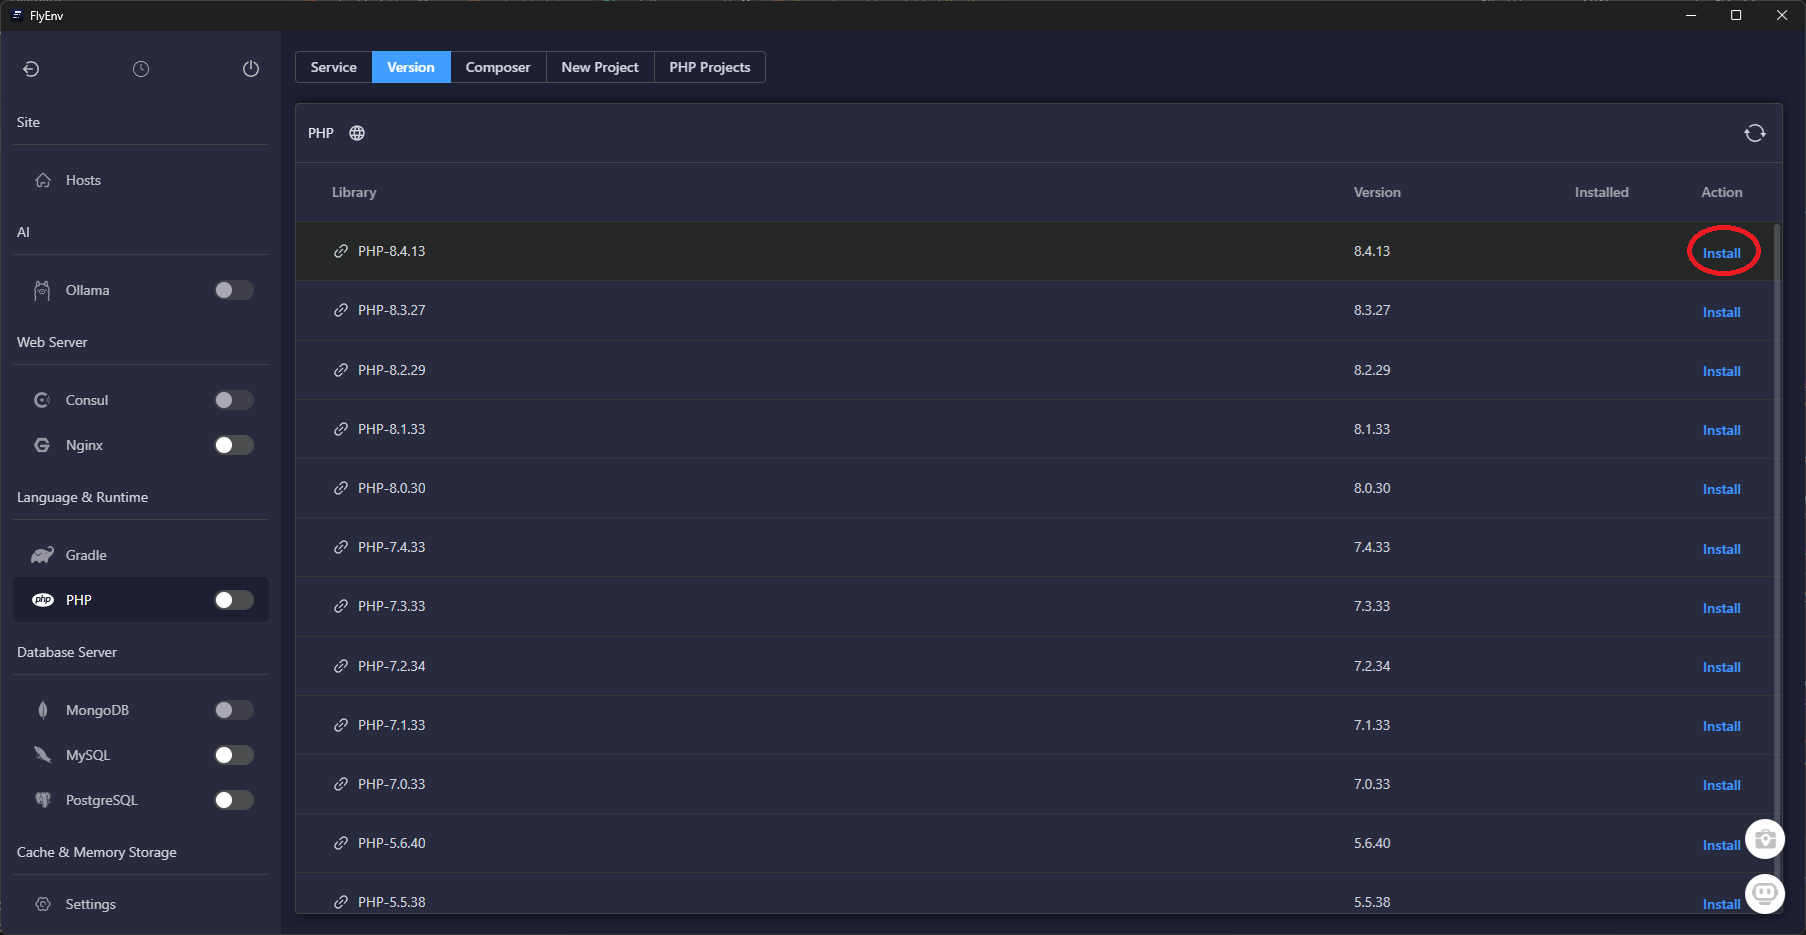
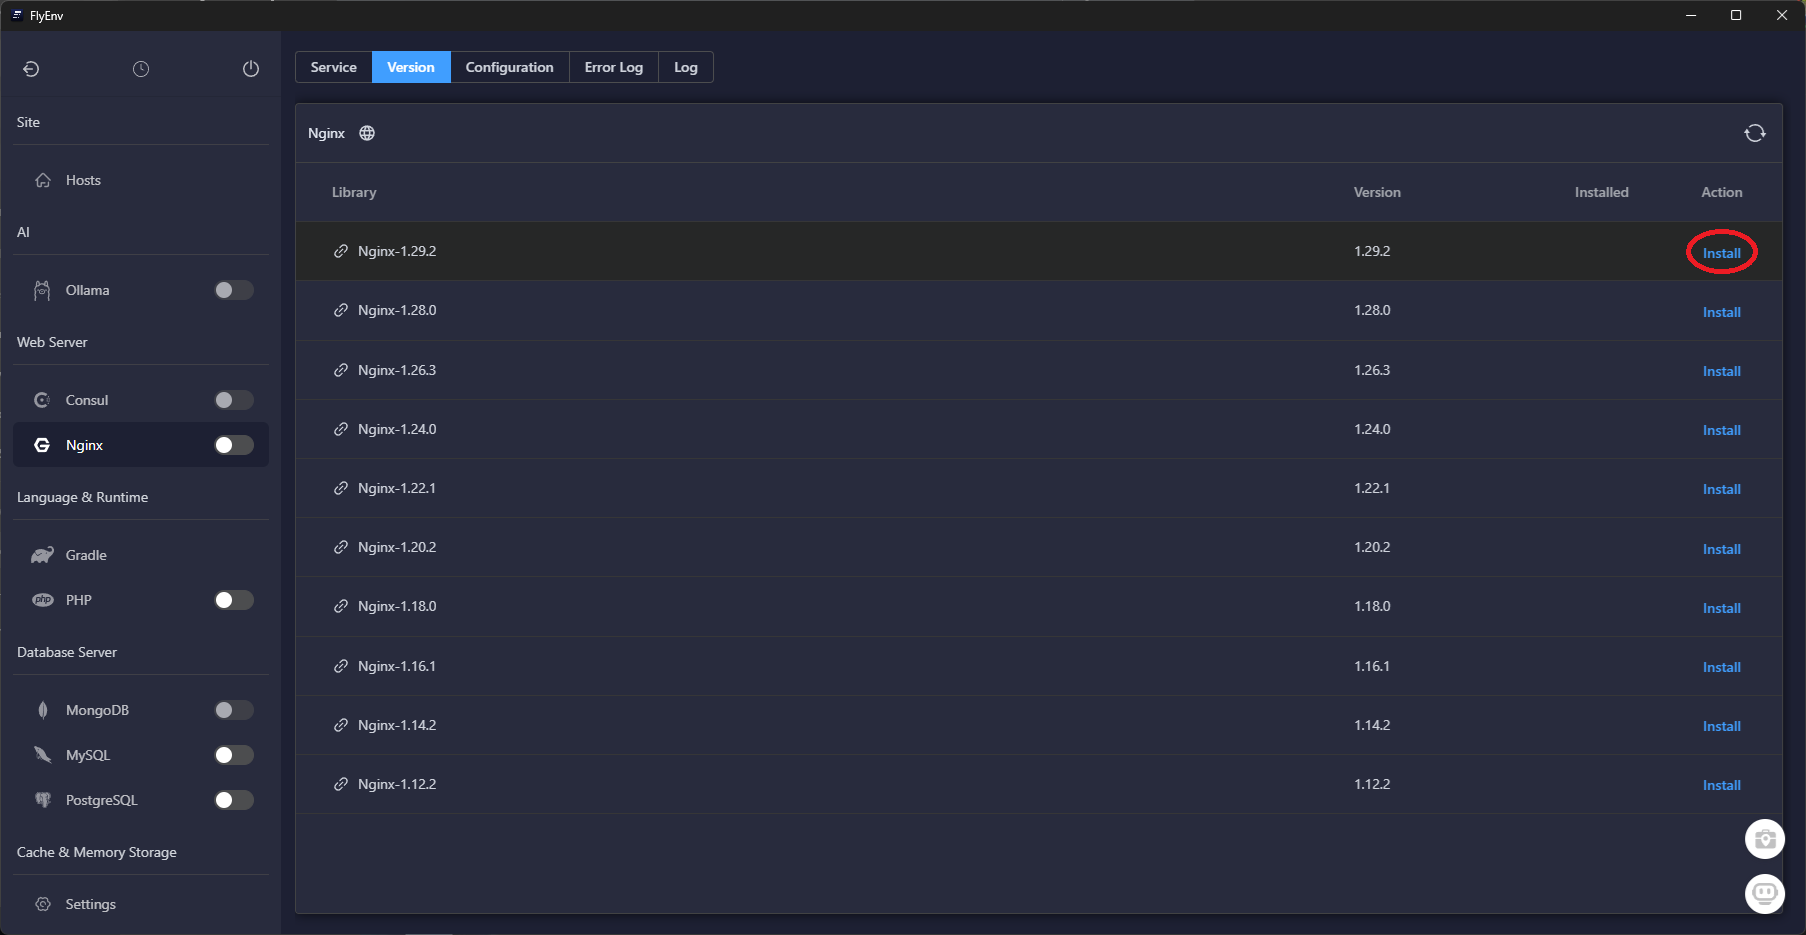
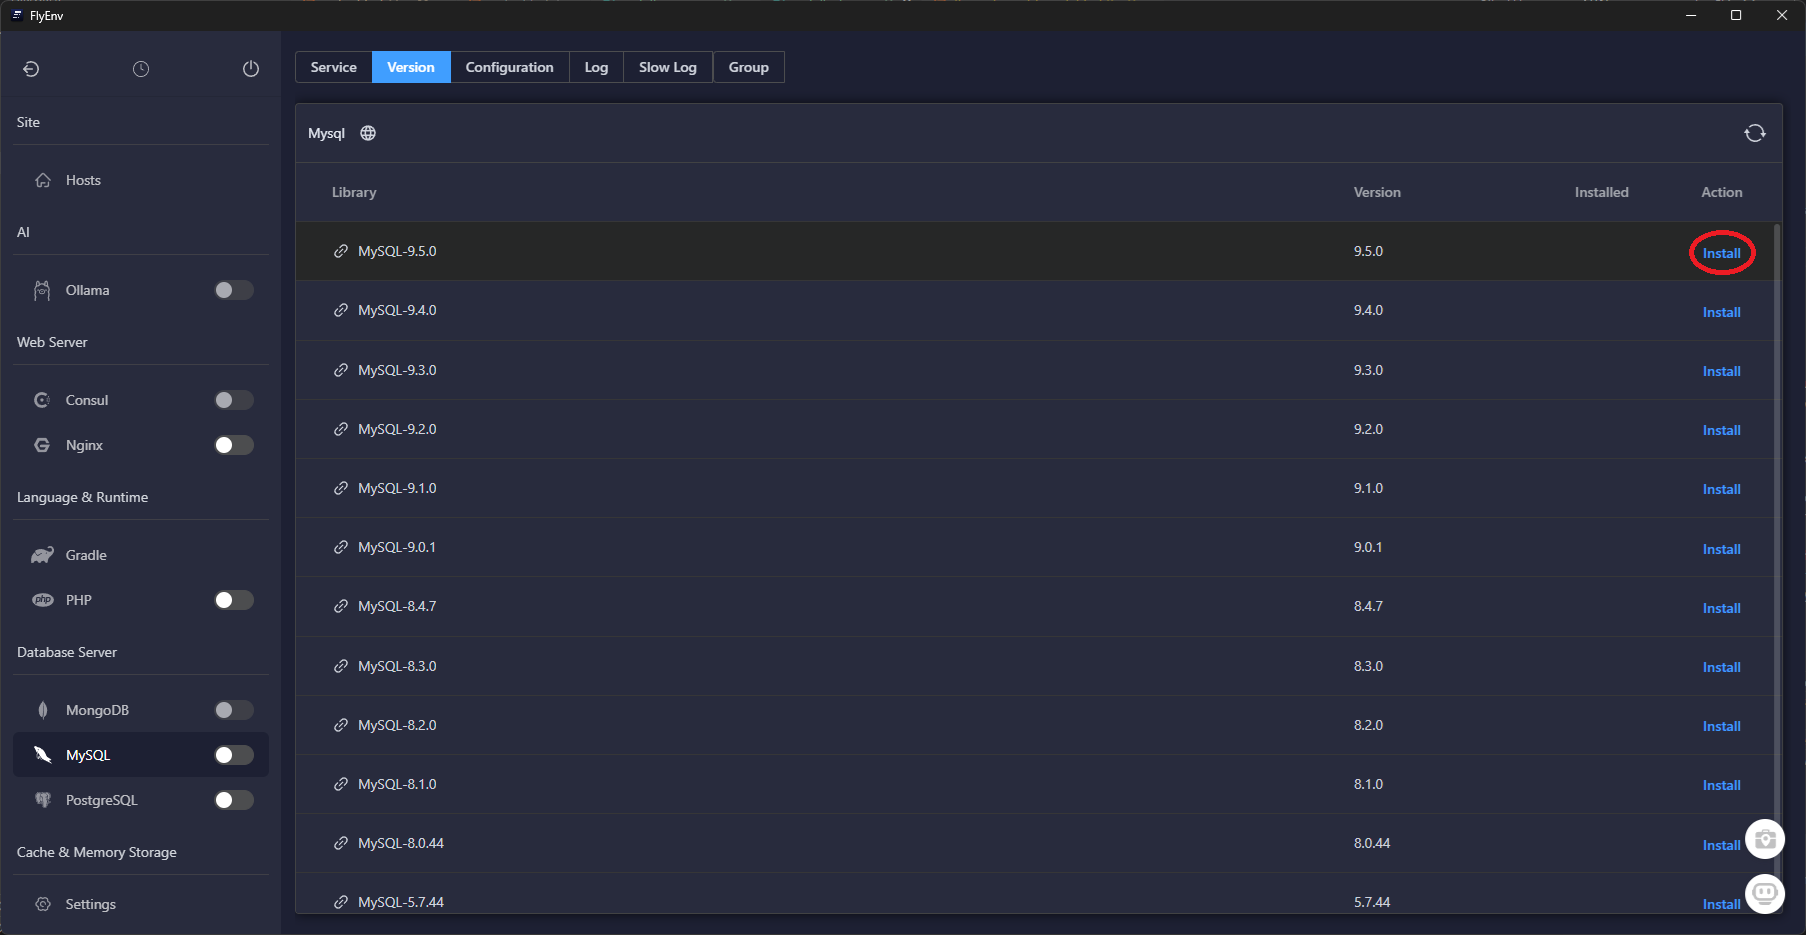
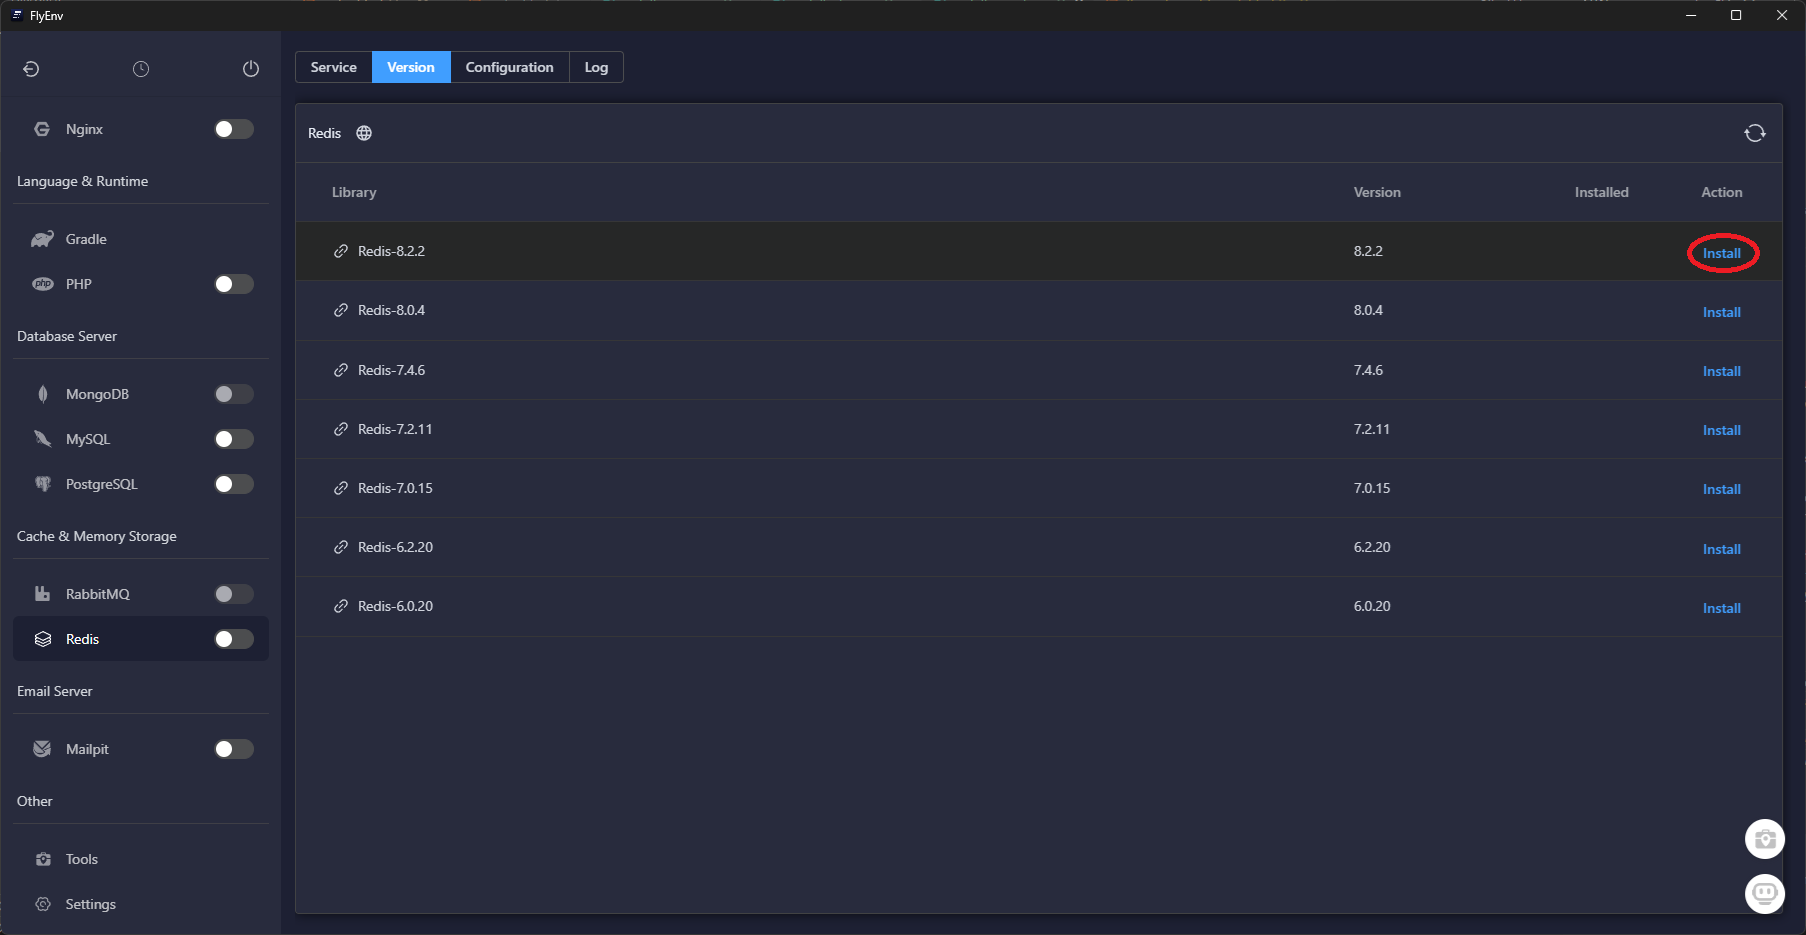
Once these services finish installing, FlyEnv keeps them updated in the background—you can skip manual package managers entirely.
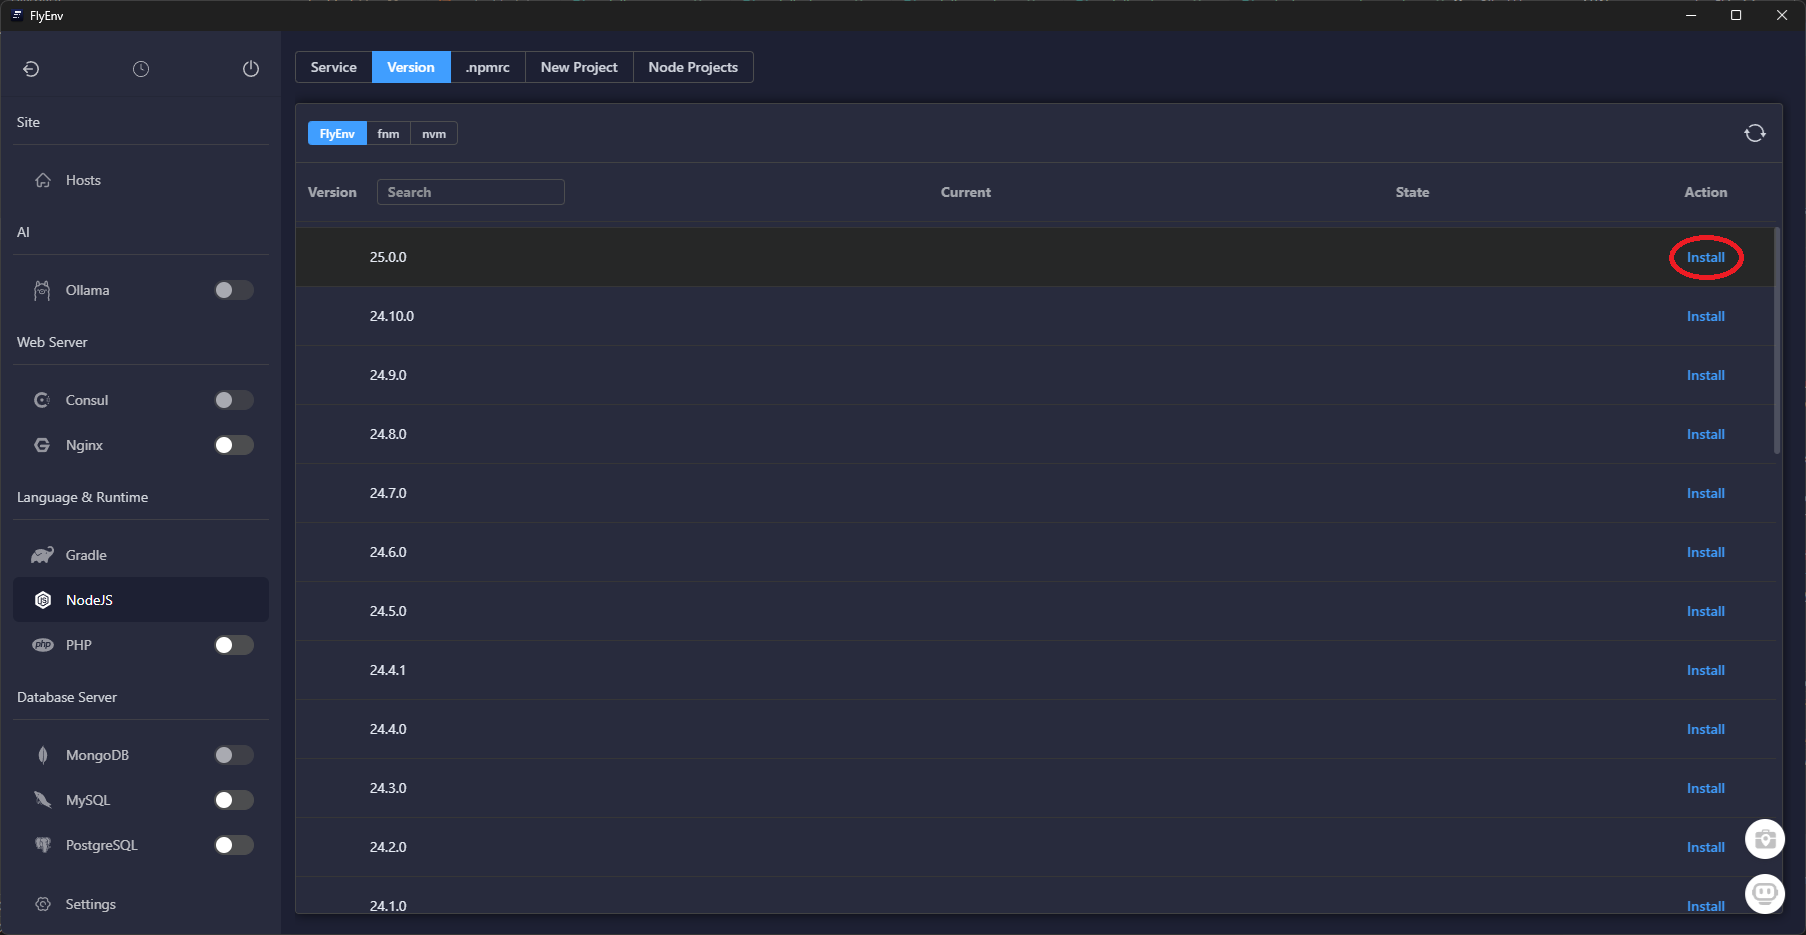
Step 2 — Set PHP & Node Versions for the CLI
The embedded shell respects FlyEnv's version toggles. Set the defaults so every new terminal session uses the correct runtimes:
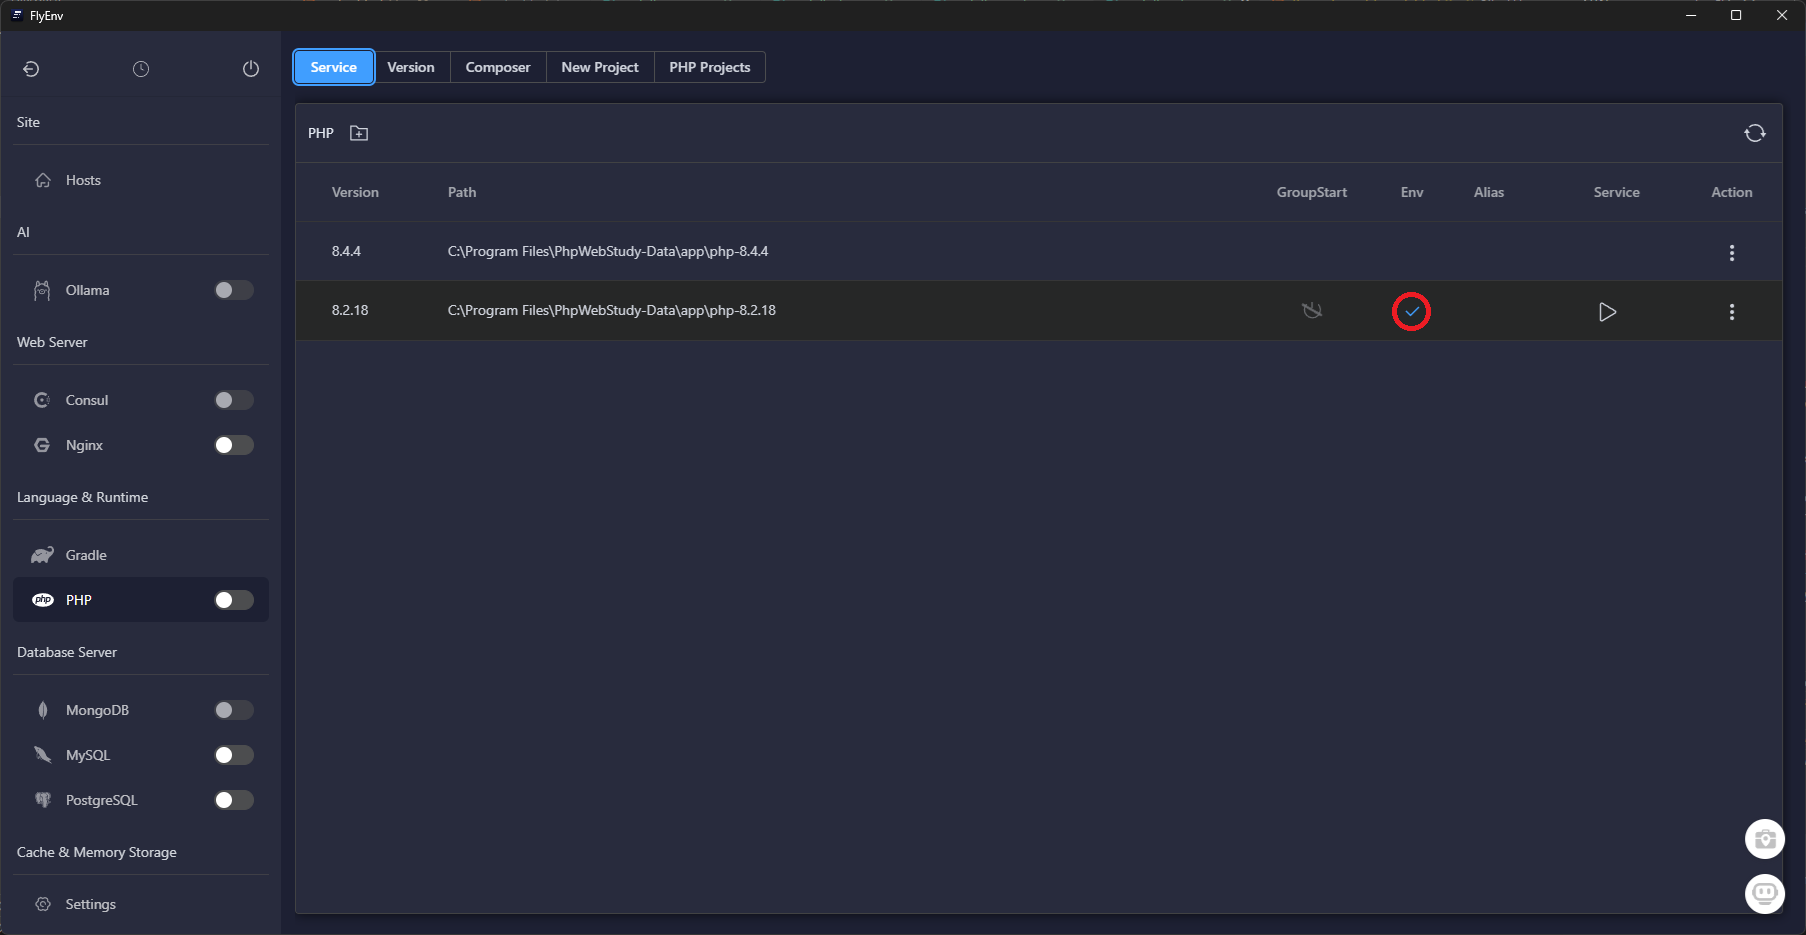
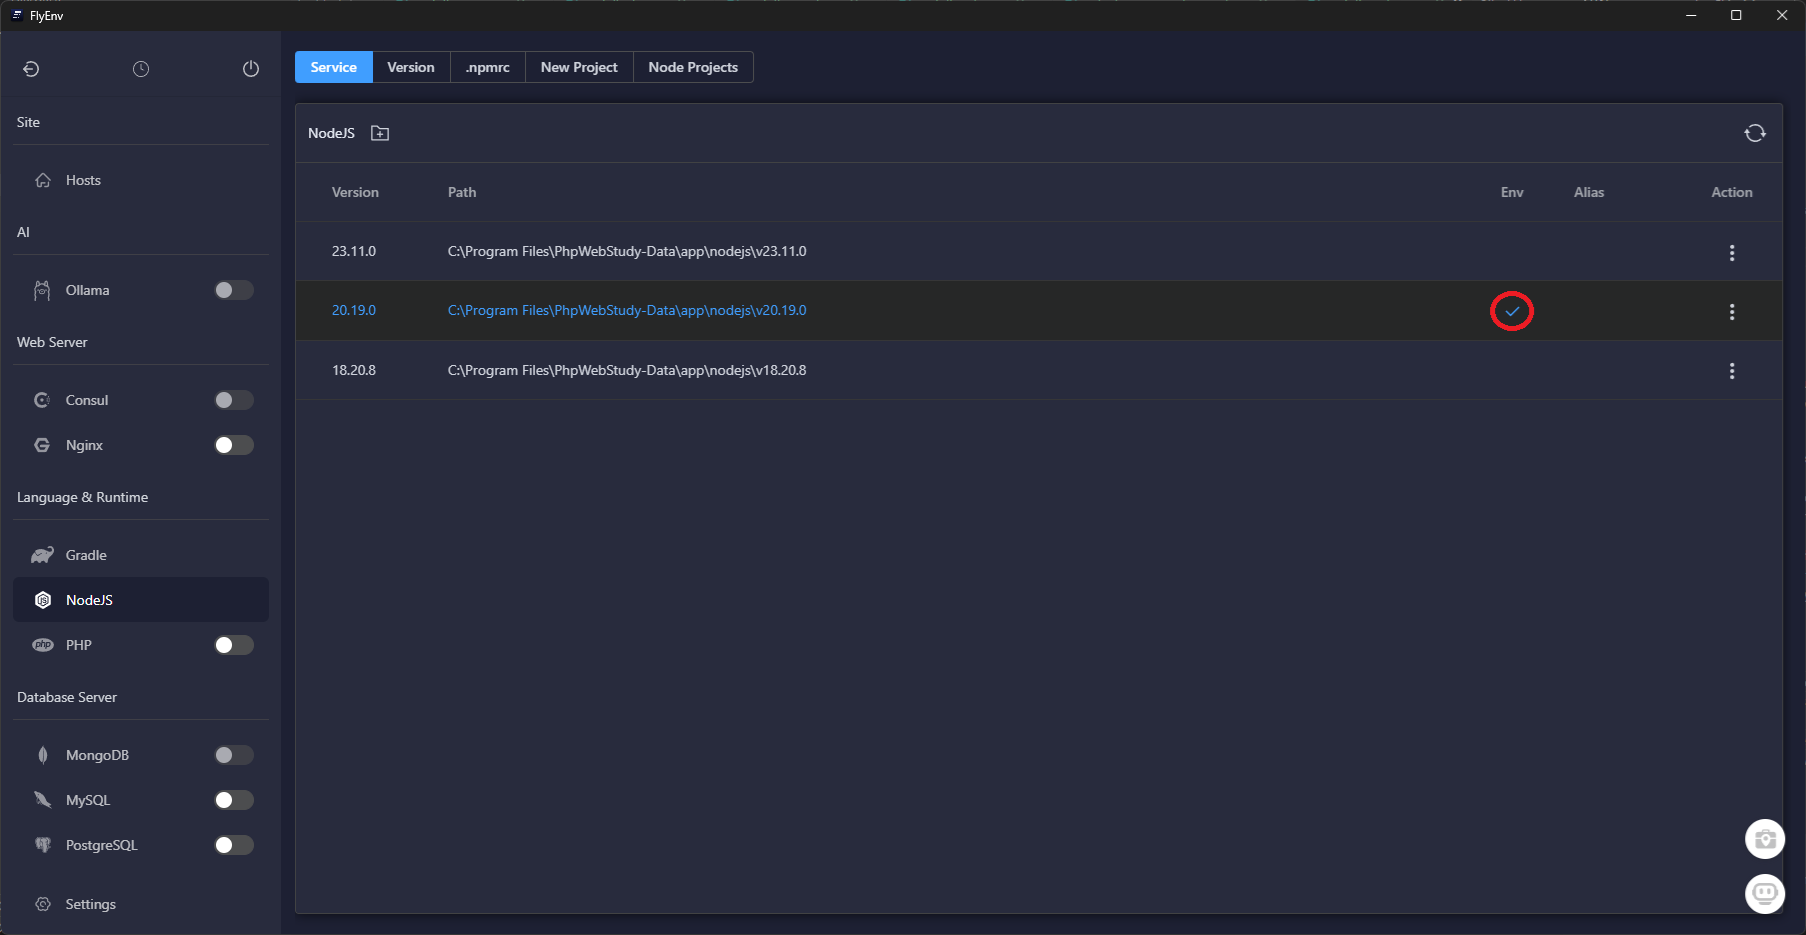
node, npm, and pnpm point to the LTS release.
Validate the change by launching the integrated terminal and running:
php -v
node -v
Both commands should report the versions you selected. If not, tap the "Reset PATH" button in each runtime card.
Step 3 — Review Active Sites
Next, confirm the Sites dashboard is healthy. This view lists every project FlyEnv proxies, along with SSL and runtime status.
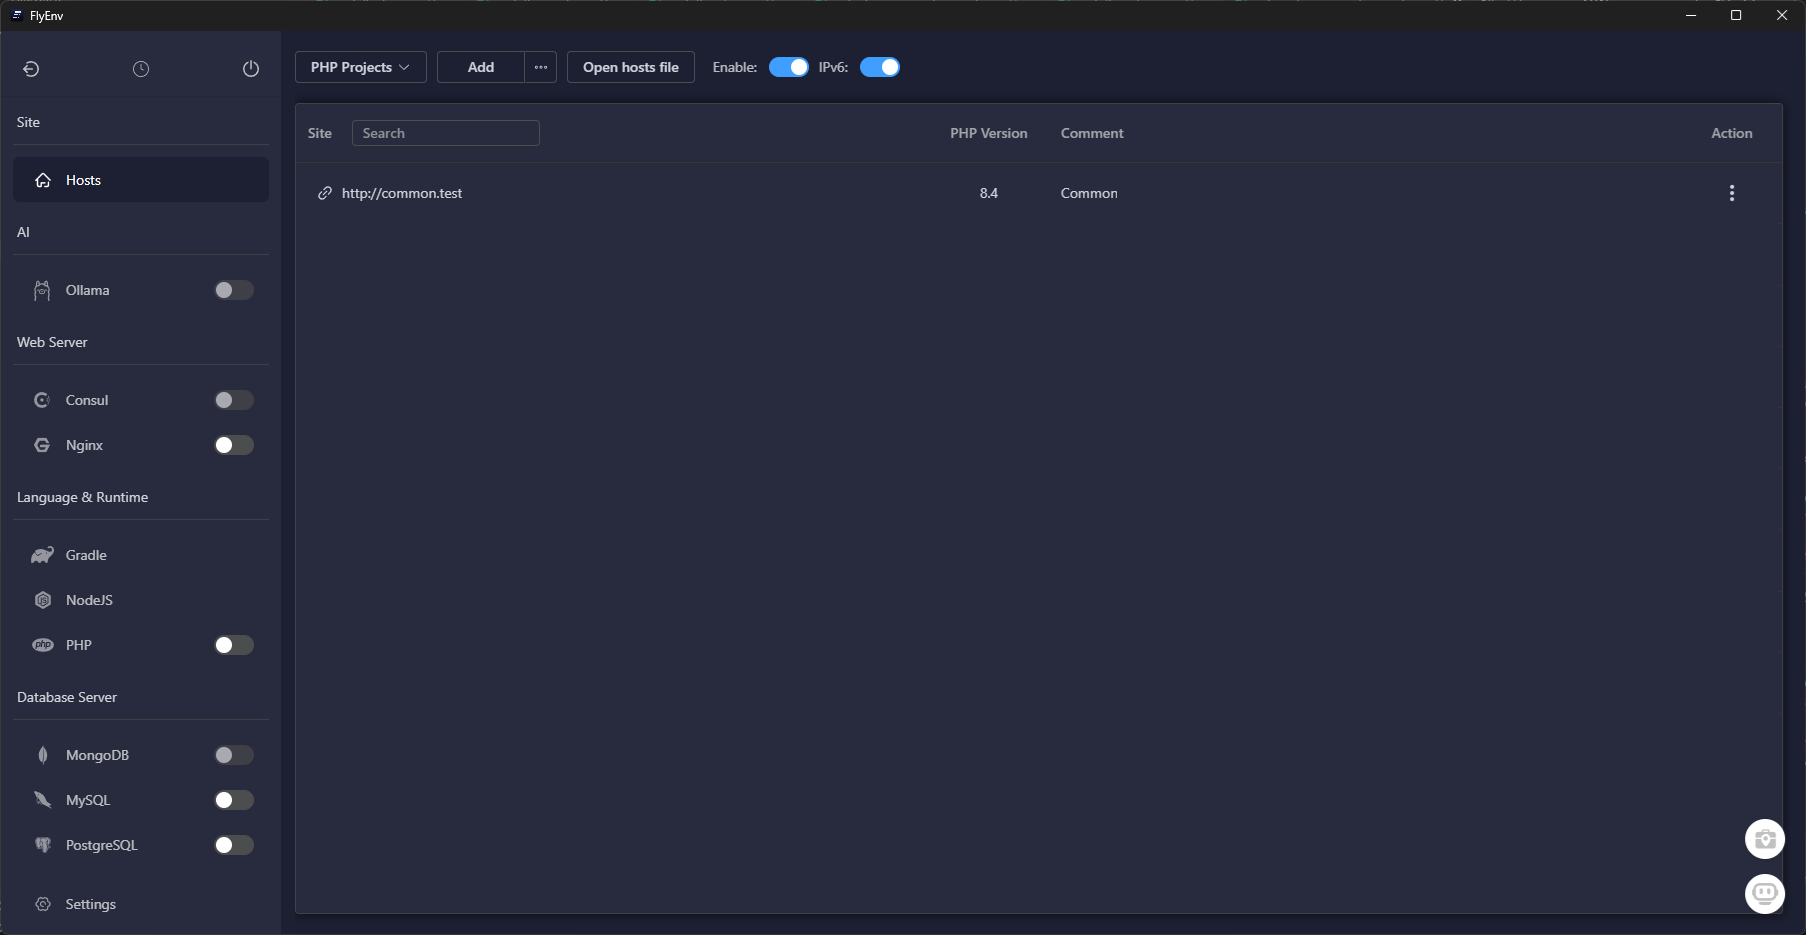
If you migrated from another machine, use Import to bring in existing site definitions, or hit Start All to light up dormant services.
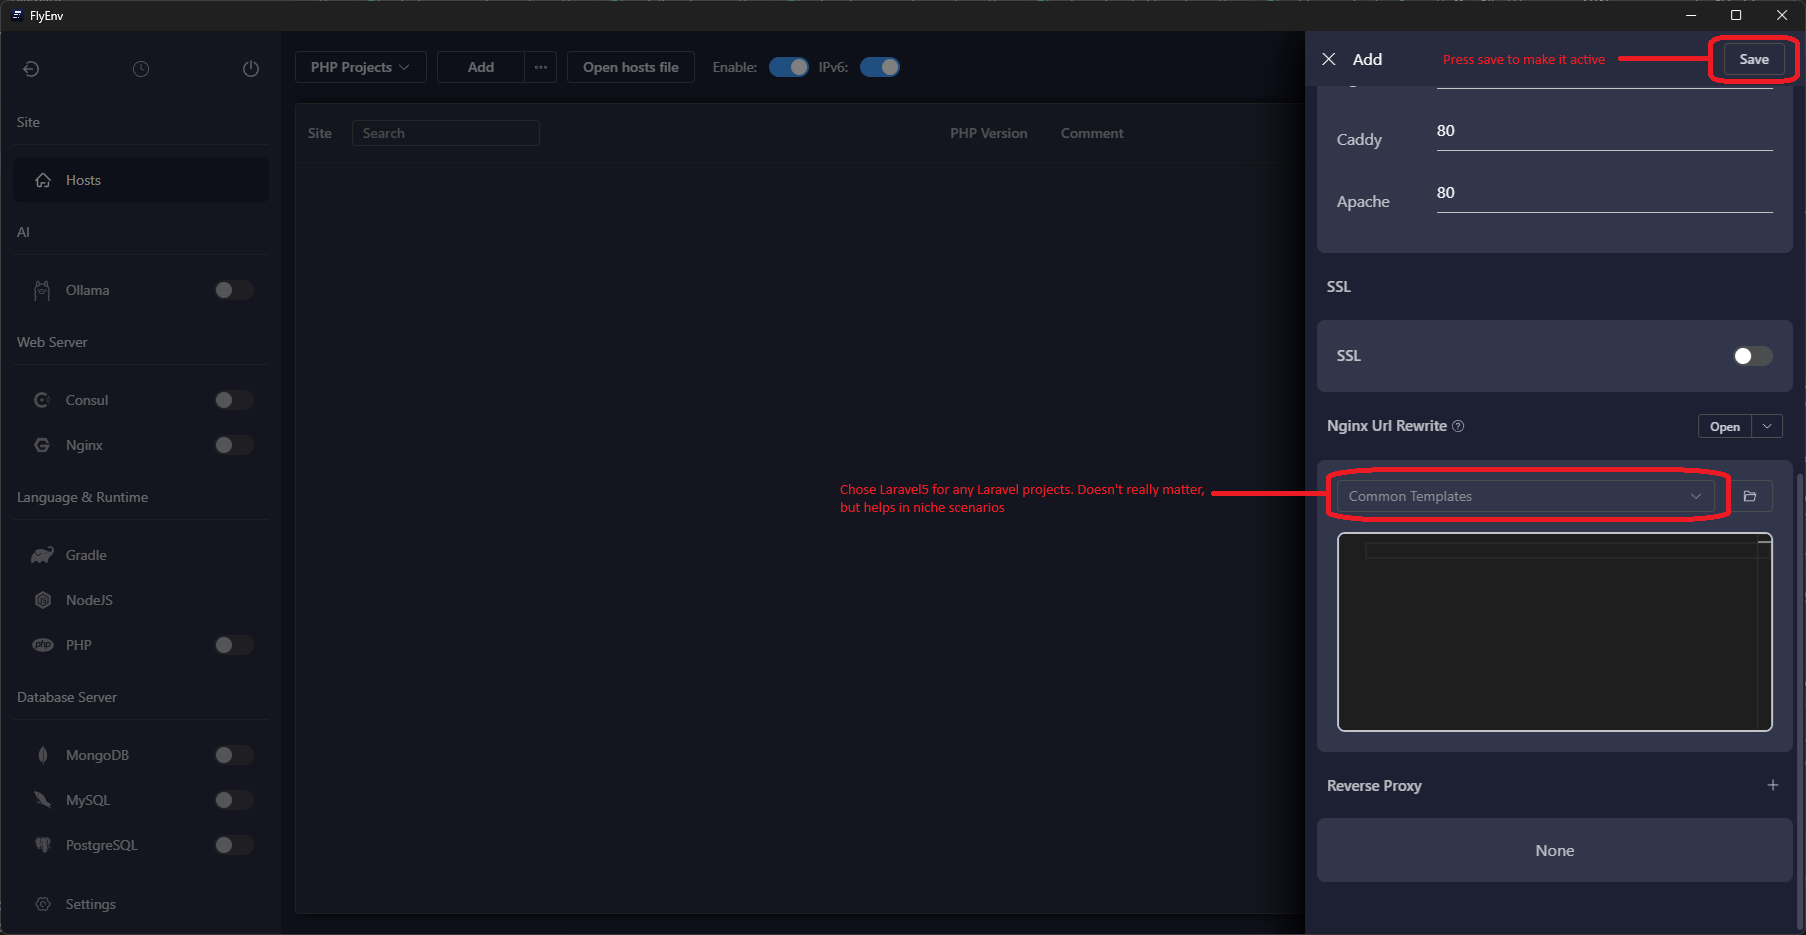
Step 4 — Add a New Laravel Site
With runtimes ready, create your project. The guided flow builds a new Laravel codebase, provisions HTTPS, and wires databases automatically.
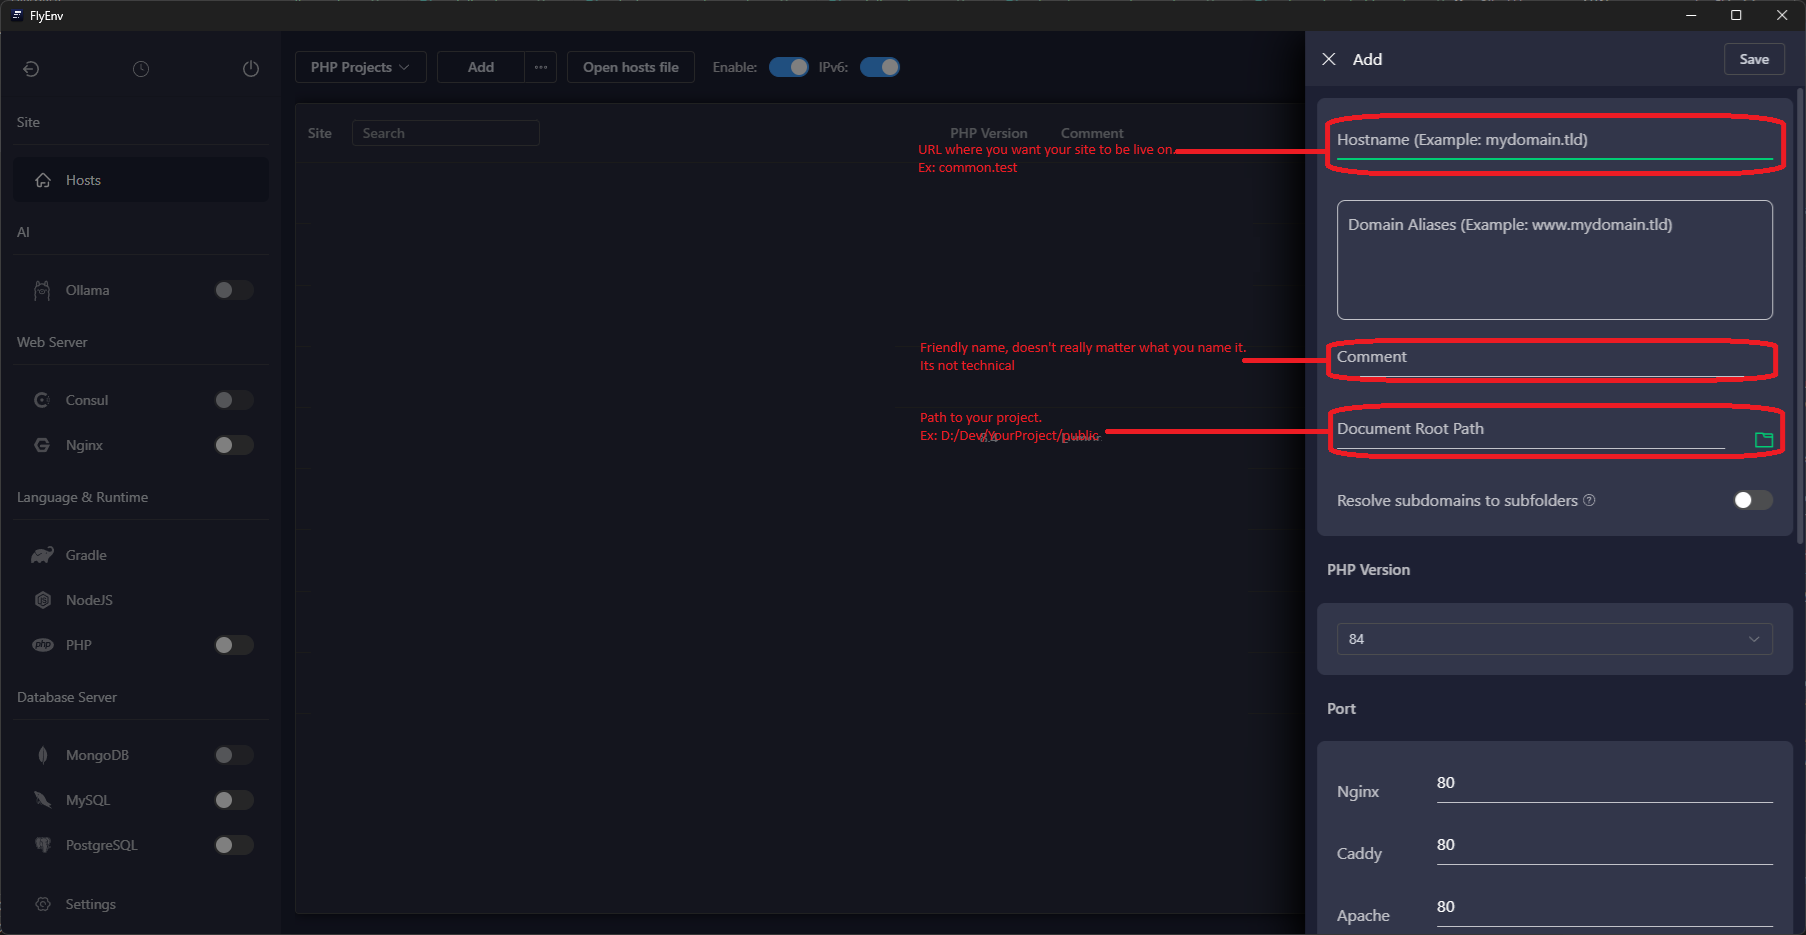
portfolio.test.
When FlyEnv completes the wizard, it automatically runs composer install and
npm install. Finish the setup inside the built-in terminal:
cd ~/FlyEnv/Sites/portfolio
php artisan key:generate
php artisan migrate
npm run dev
Visit your chosen domain in a browser to confirm the Laravel welcome screen appears over HTTPS.
Wrap-Up
By following this sequence—install services, lock CLI versions, validate the Sites dashboard, then add a project—you can reproduce the same Laravel stack on any laptop in minutes. All future tweaks happen directly inside FlyEnv, whether you need to switch PHP builds, rotate certificates, or share site definitions with teammates.
Have a FlyEnv automation, hook, or workflow that accelerates your deployments? Reach out—I’m always collecting ideas to make this setup even smoother.